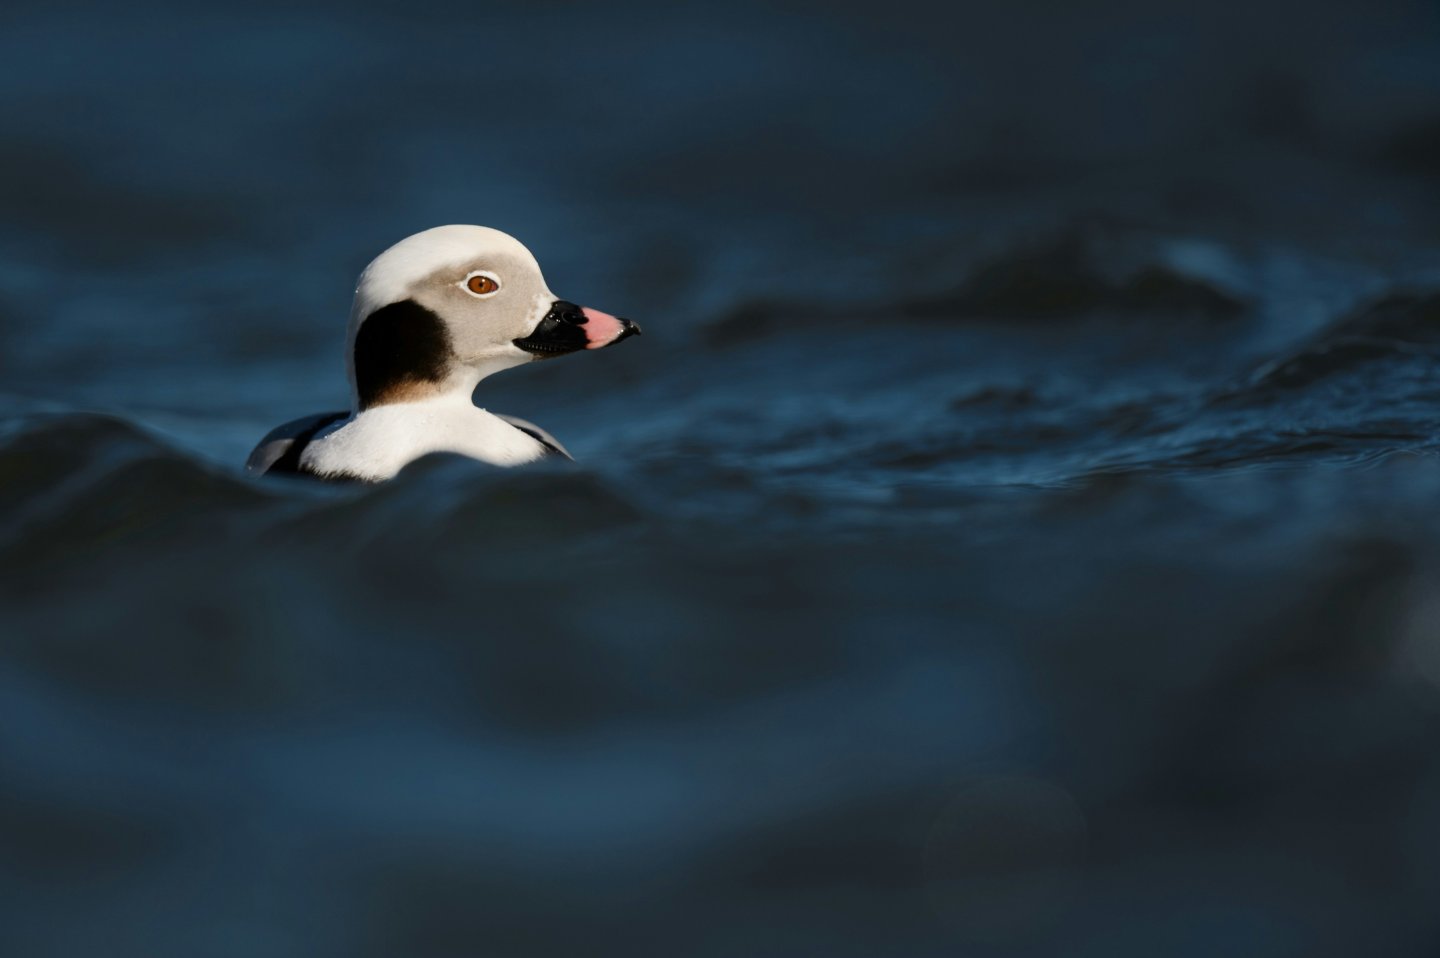
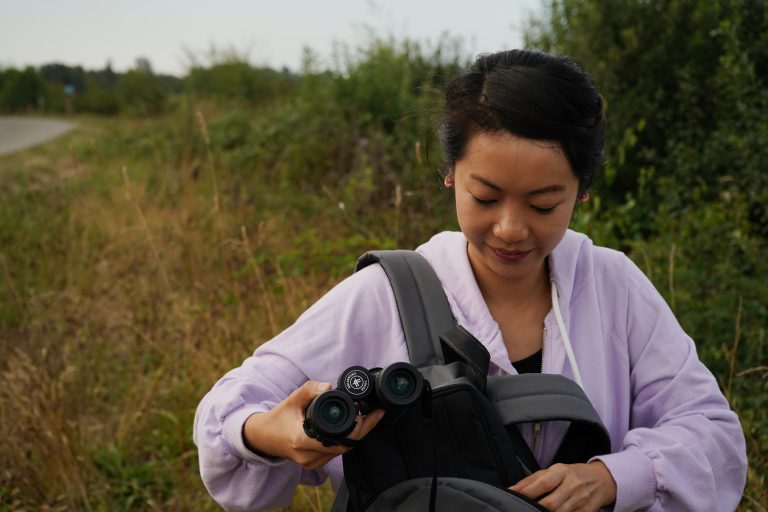
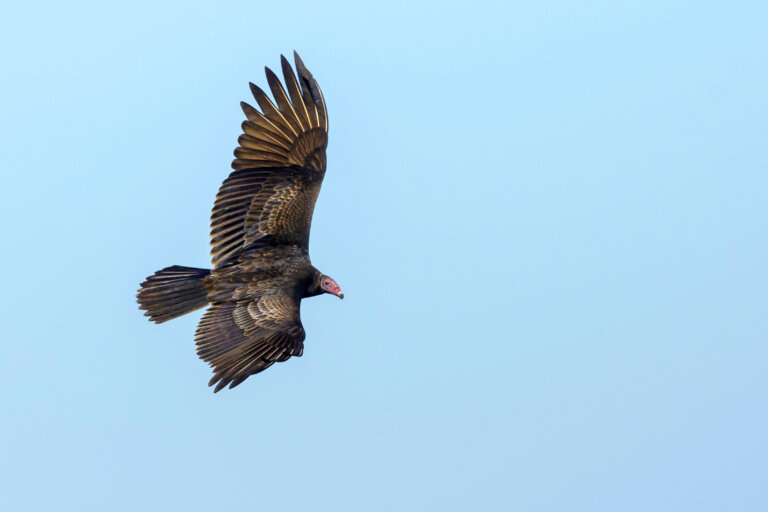
Bird photography is a great way to level up your birding adventures! Perhaps you have an old camera lying around, or you’re an aspiring photographer who wants to add to your portfolio, or maybe you just want to be more active outdoors, so why not try bird photography? It’s not actually that hard to get into – you don’t have to be a professional photographer with the most expensive camera or the biggest zoom lens to capture amazing moments of birds in your life.
Bird photography can be a great addition to your adventures outdoors and it can easily turn into an exciting hobby with a sense of thrill each time you go out, not knowing what amazing shots you’ll get. Not to mention it’s also a great add-on to an already budding birding hobby.
Camera, Zoom, Tripods?
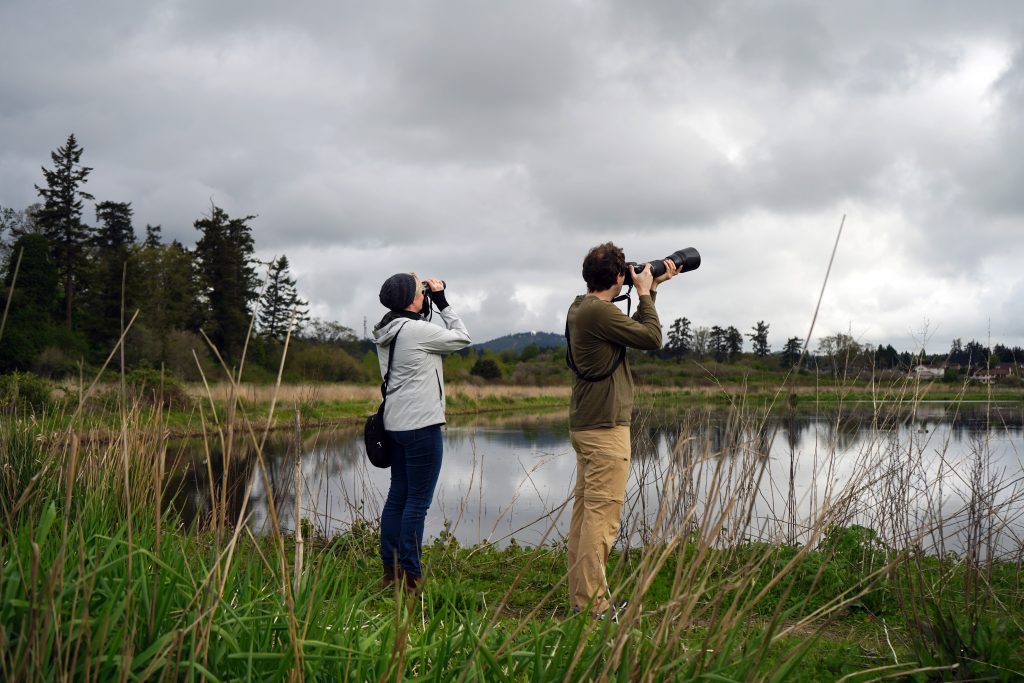
So, what camera should you use? If you’re just starting to test the waters, you can use any camera you have available to you: an old point and shoot that’s been in your drawer for years, your phone camera, maybe even a film camera if you have one.
It’s tough to get closeup shots of flighty birds without a huge zoom lens, but many modern phones have decent cameras with a bit of a zoom and getting scenic shots of birds in their habitats is a great way to get started into photography in general. Another option is to hold your phone camera up to your binoculars or scope (if you have them) to get a closer shot.
If you already know that birding photography is right for you and you’re ready to commit, you will probably want to invest some money into a zoom or telephoto lens to help with the distance factor. Interchangeable lens cameras (DSLR, mirrorless, or film) will have a focal length in millimetres so something around 200mm would be a great start.
Tripods or monopods will help keep the camera steady, which matters more at a higher zoom magnification, but many cameras and lenses have some kind of “image stabilization” to help get clear, crisp shots. This helps, as carrying around a big tripod definitely isn’t for everyone!
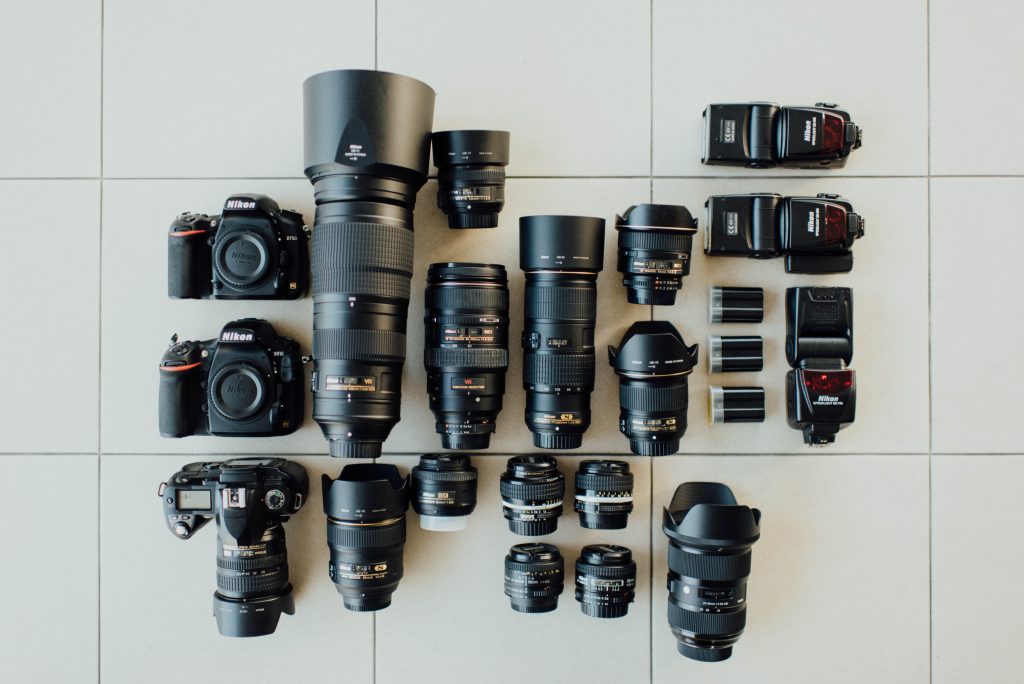
There’s no sugar coating it: photography, especially bird and wildlife photography, can be an expensive hobby, but many local camera shops will have used gear for sale. You can often get an amazing camera or lens for a fraction of its original price just because it’s a few years old, then upgrade as you get more into the hobby. It’s a great place to check out as a beginner and staff will also likely be able to guide you through what equipment you should be considering. You can also check online marketplaces for lots of used gear at great prices – just make sure to check that it’s in working order before you buy.
Photography Tips
When it comes to actually going out and taking some photos, shutter speed will be one of the most important factors for your photography. Try taking your camera out of “Auto” and using the more manual modes to make sure you’re using a fast enough shutter speed to capture your quick-moving subjects. Learning even the basics on how shutter speed, aperture, and ISO affect a shot will be a massive help.
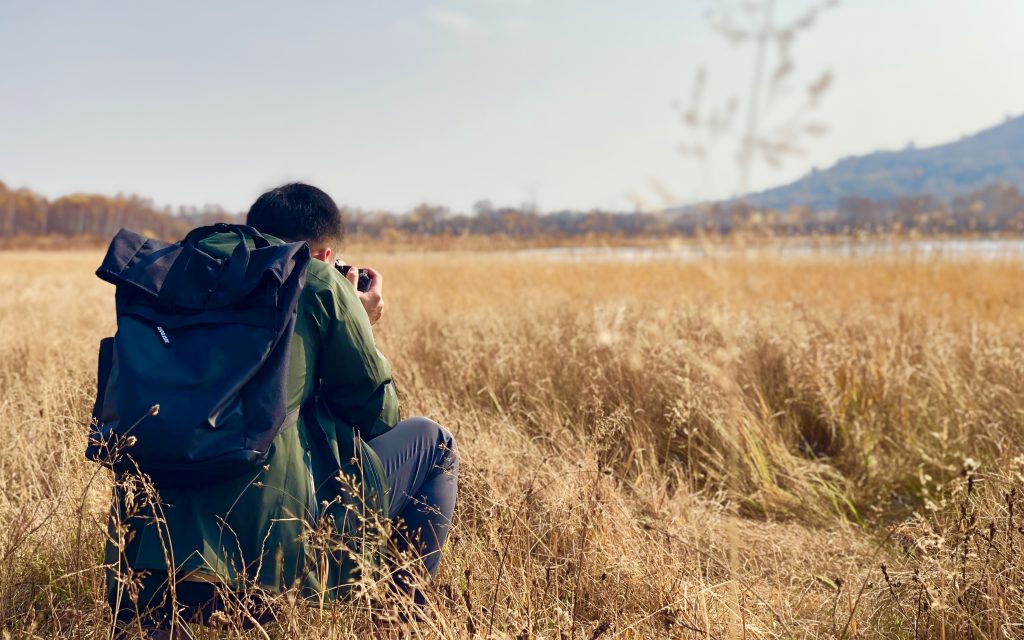
If you can get to eye level with the bird, you’ll usually get a better result. You might get a bit dirty getting low to take a shot of a duck or sparrow in the grass, but you’ll end up with a much more intimate-feeling photo.
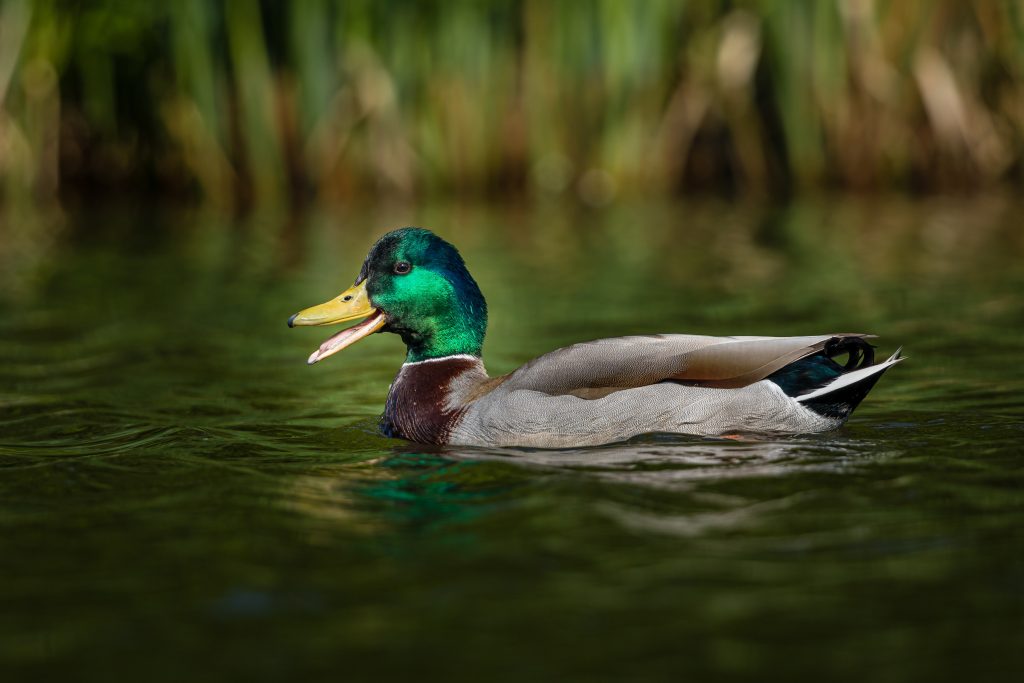
Practice makes perfect, as they say! Don’t limit yourself by only taking photos of the rare or cool birds you see, because the common birds are the best for practice. A beautiful portrait of a Mallard is still a beautiful photo! Use the everyday birds around you to practice using manual camera settings, fiddling with perspective and composition, and working on the lighting and mood of your photos.
It’s not just about getting as tight of a photo of a bird as possible. Shots that include some of the bird’s environment can be as (or more) interesting. This means that if you’re not using a giant lens, you can still get great shots!
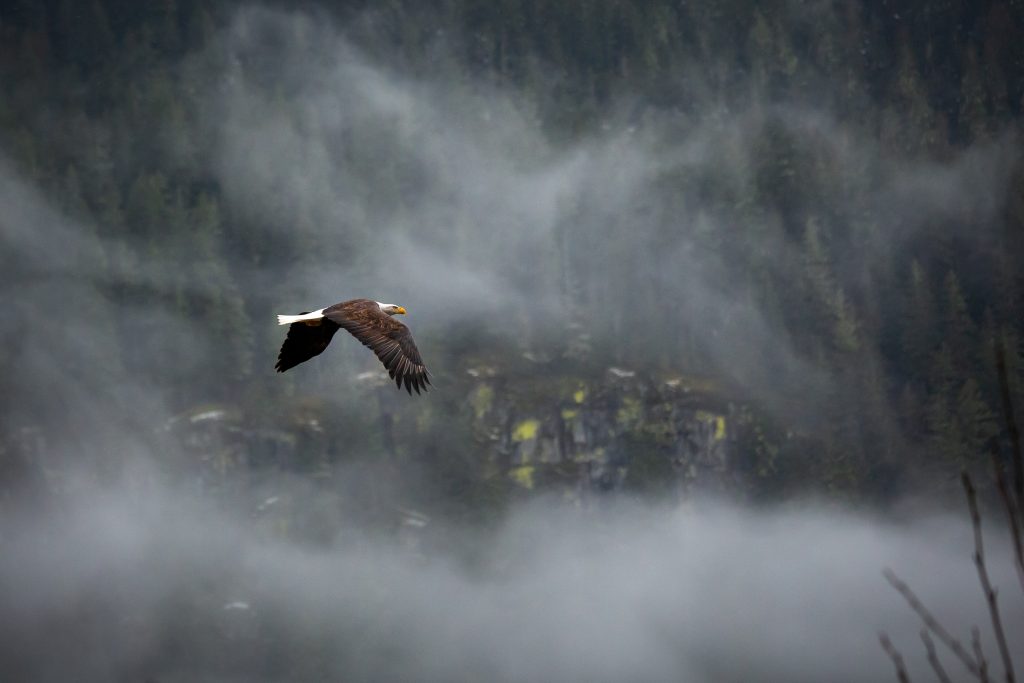
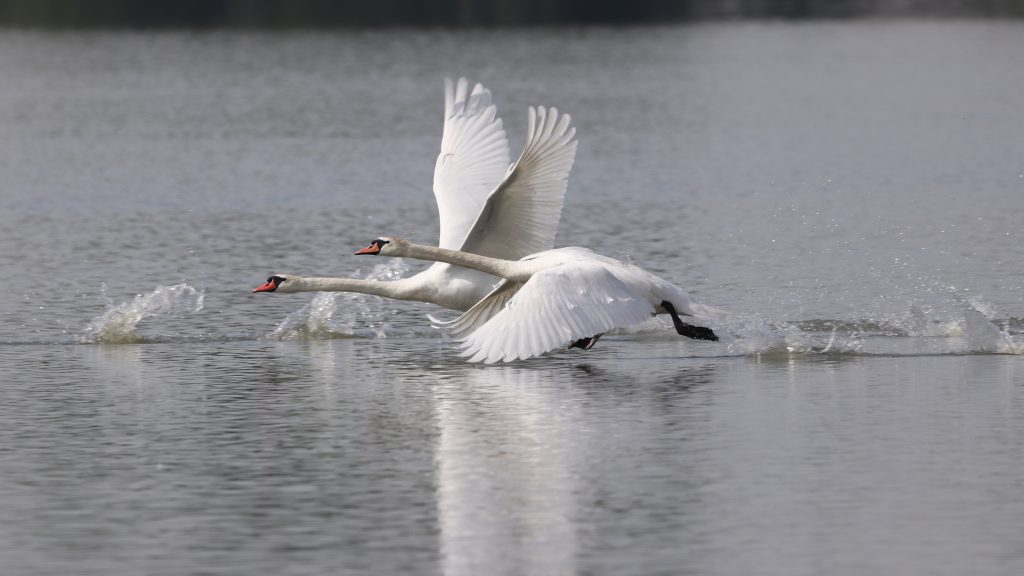
Try to capture the behaviour of the bird. Simple portraits can be nice but consider trying to catch movements like landing/liftoff, preening, and interactions with other birds. Things like this offer an interesting glimpse into the bird’s world.
Get familiar with the “golden hour”, that time right after sunrise and right before sunset. Shots from these times will often have much more pleasing light and colours compared to those from the middle of a sunny day.
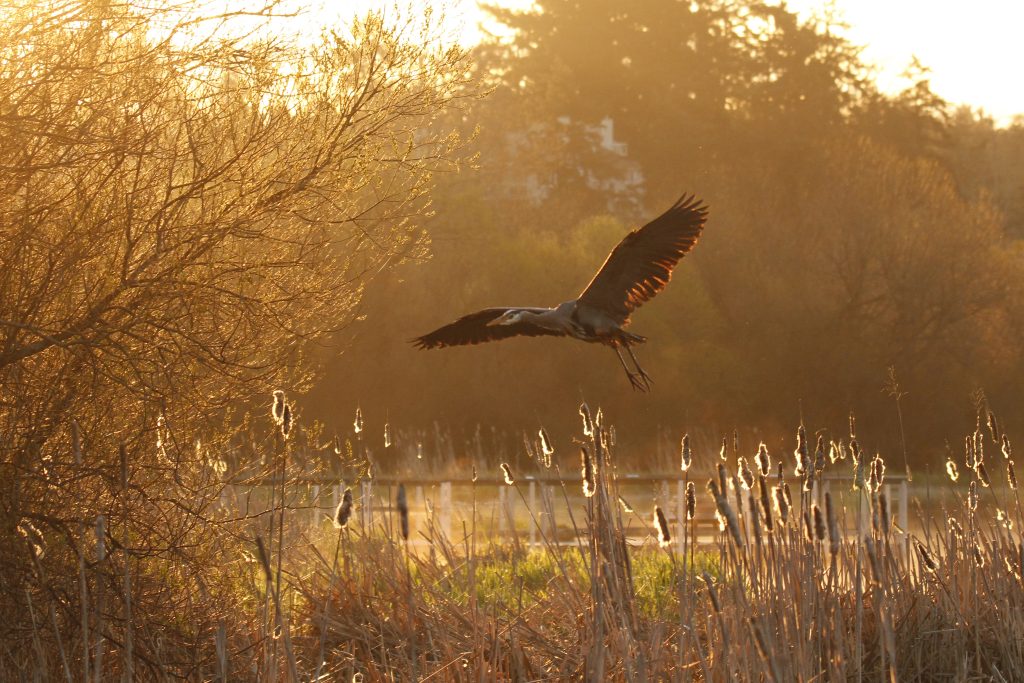
The most important tip of them all: always carry your camera! The more often your camera is with you, the more chances you’ll have to catch unexpected moments while you’re out.
With bird photography, it’s important to follow rules and ethics about how you interact with wildlife and the space they inhabit. You can read up on our previous Field Note’s post about Responsible Birding to prepare yourself if you aren’t familiar. Birds Canada also has an important article focusing on how to observe owls in the wild, as they can be easily disturbed by people wanting to get a closer look.
Oh, and if you post your shots on social media, make sure to tag us @BCBirdTrail or use the hashtags #BCBirdTrail or #LookUpStayGrounded so we can share your hard work!
For more of our Birding 202 thoughts, check out the rest of this series:
- Birding 202: Raptor Migration
- Birding 202: Urban Birds
- Birding 202: Mating and Courtship
- Birding 202: The Pacific Flyway
- Birding 202: Family Birding
- Birding 202: BC Bird Specialties
- Birding 202: Rare Birds
